Controlling HomeKit accessories with Siri on HomePod isn't radically different from controlling them via an iOS device, but there are some extra HomePod benefits to be aware of.
HomePod and HomeKit Setup
If you've never used HomeKit before and you purchase a HomePod, when you set it up it's added to HomeKit and to the Home app.
Setup includes a step asking you to choose a Home you're using HomePod in, and if you don't have Home settings already established, it'll let you choose the default "My Home" option, which is established for every iCloud account. If you use HomeKit already like I do, you can choose your existing home, if it has a different name.
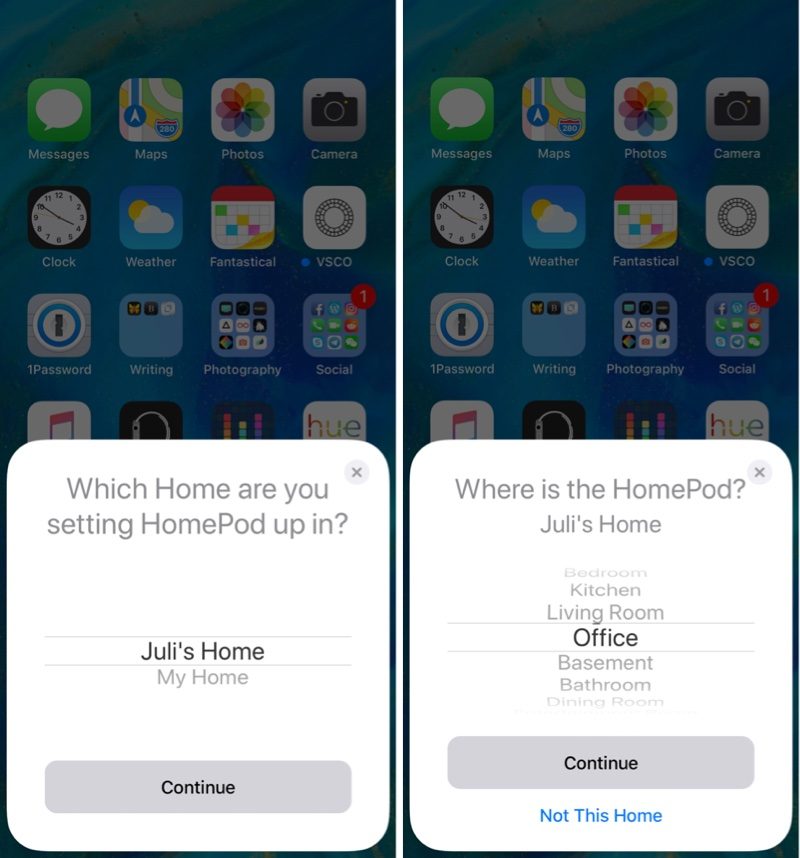
From there, you'll choose the room where your HomePod is located, which is also a HomeKit setup step. You'll be familiar with this if you've ever used HomeKit before.
With these two setup steps, you establish a HomeKit setup if you didn't have one before. HomePod itself is a HomeKit accessory, and it's controlled and managed in the dedicated "Home" app along with all other HomeKit accessories.
HomePod in the Home App
The HomePod is listed in the Home app as an available accessory, and if you're a HomeKit user, you know how this works. If you're not, the Home app isn't tough to navigate.
Your HomePod will be listed as "HomePod" on the main screen, and if you tap it, it will either play or pause your music. A 3D Touch or a long press on the HomePod icon in the Home app opens up a full menu where you can get to the HomePod settings by tapping on "Details."
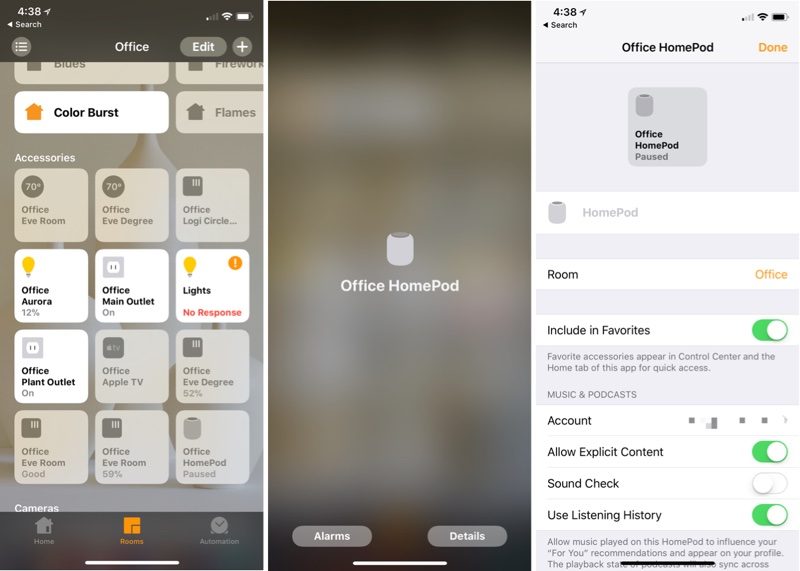
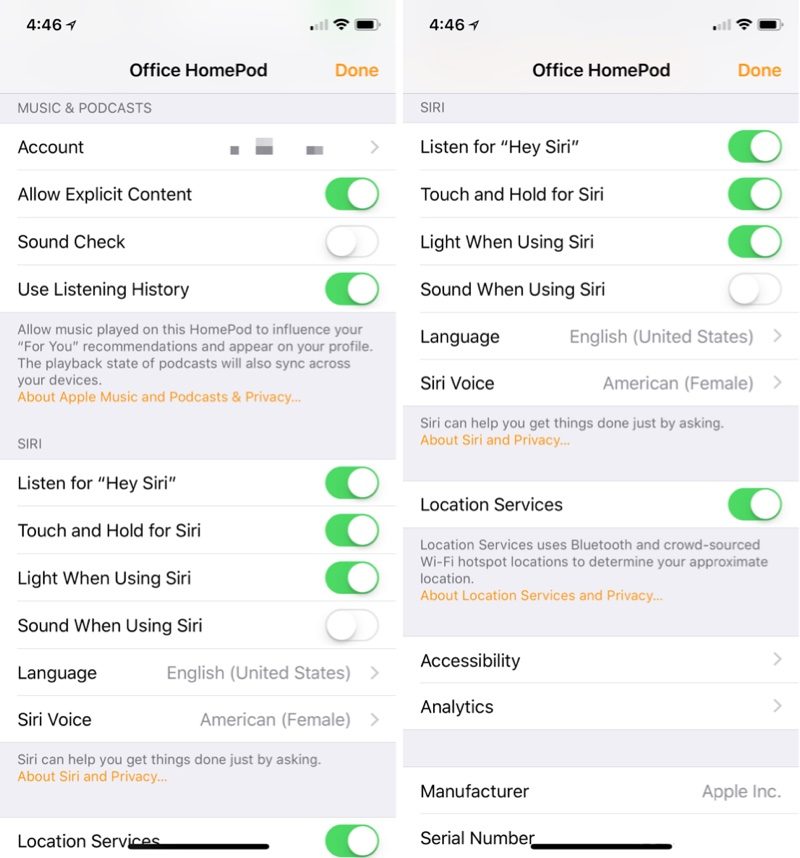
This is where you can change HomeKit settings like turning off Siri, deactivating the Siri lights, disabling listening history, and more. Your HomePod is controlled entirely through the Home app.
Home Hub
HomePod, like the Apple TV and iPad, serves as a home hub, which means it communicates with all of your HomeKit devices all the time, allowing you to control them even when you're away from home.
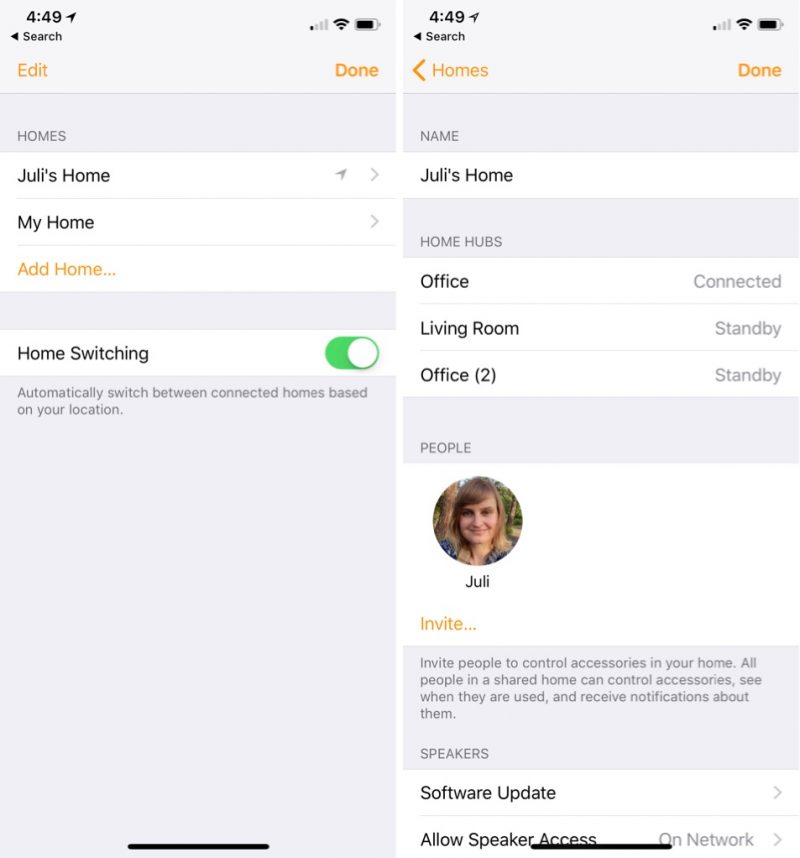
A home hub is essential for controlling HomeKit devices remotely and setting up automations based on time of day, location, or conditions detected by HomeKit-compatible sensors. If you have an Apple TV or an iPad, you've already got a home hub and don't need to worry about this functionality, but if you don't, this is added bonus functionality.
HomePod as a home hub covers all of the HomeKit devices in your home, even if they're not located close by the HomePod itself.
Siri on HomePod
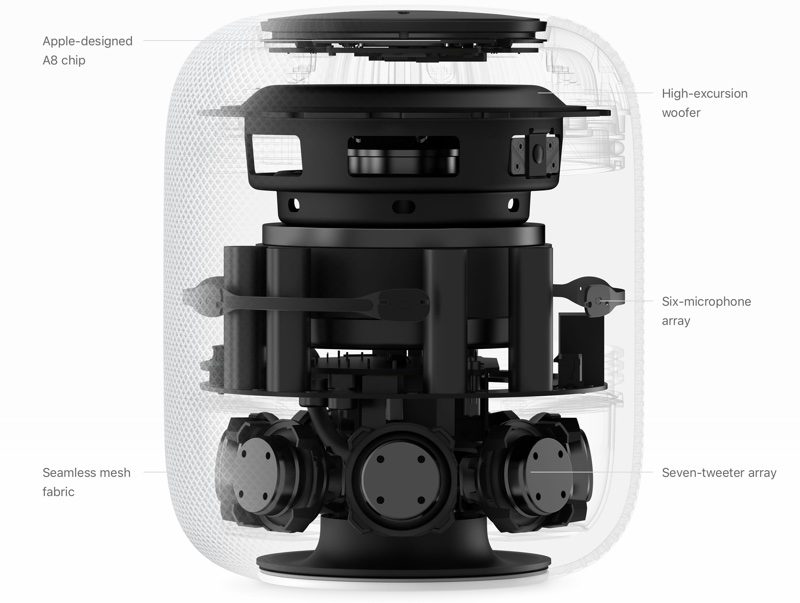
One of the best benefits of the HomePod is how well it can hear and react to "Hey Siri" commands. It will hear you from across the room with loud music playing, and it's so sensitive that it's even going to detect the "Hey Siri" command if you whisper it nearby.
It's not an exaggeration to say that the HomePod's listening capabilities work
incredibly well, so for HomeKit-based voice commands, it's much better than attempting to use an iPhone. You can essentially say "Hey Siri" and repeat a HomeKit command from anywhere in a room with a HomePod, and you're going to get a speedy response.
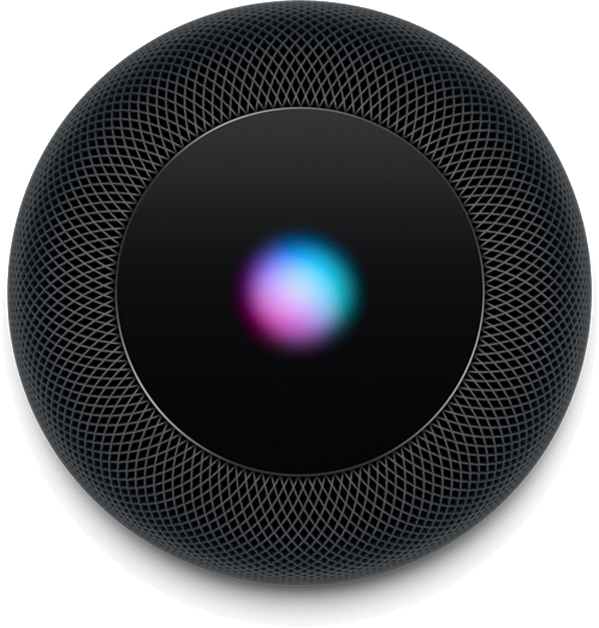
The listening range far exceeds the iPhone or iPad, and it makes the HomePod the perfect hands-free device for controlling everything from the lights to the door locks. Longtime HomeKit users who often use voice commands will find this much simpler, and HomeKit users who don't often use Siri should give the personal assistant a second chance on HomePod.
By the way, if you have both a HomePod and an iOS device that responds to "Hey Siri," when you speak, it will almost always default to the HomePod. This is because all of your devices communicate with one another and are smart enough to know that the HomePod is the device that you're aiming to use.
TIP: Don't pause between "Hey Siri" and whatever HomeKit command you're speaking. If you want to turn on the lights, for example, say "Hey Siri turn on the lights" all at once rather than saying "Hey Siri" and waiting for a response. Siri on the HomePod works well enough that a pause isn't required, and it can even confuse your HomeKit commands if you insert a pause.
Manually Activating Siri
If you want to issue a Siri command without "Hey Siri," you can do so by placing a finger on the HomePod and leaving it there for a few seconds until the Siri waveform lights come on. From there, Siri works as usual.
HomePod Siri Commands
While Siri on HomePod is excellent at detecting "Hey Siri" commands, Apple hasn't implemented any upgrades to the way Siri is controlled via voice on the HomePod. If you already use Siri to manage HomeKit devices on iOS, Siri on HomePod works in the exact same way.
If you're new to Siri and HomeKit, though, there are tons of commands you can use, many of which are specific to certain devices. With lights, for example, you can use some of the following commands:
- Hey Siri, turn on the lights
- Hey Siri, turn off the lights
- Hey Siri, dim the lights
- Hey Siri, make all of the lights in the office maximum brightness
- Hey Siri, are the lights in the office on?
- Hey Siri, turn all of the lights in the office blue
- Hey Siri, turn the Hue lightstrip purple
HomeKit commands vary, so you'll need to learn the different options available for each device. With locks, for example, you can ask Siri to lock or unlock the door, and if you have a temperature sensor or thermostat, you can ask Siri what the temperature is.
Scenes and automation are a major part of HomeKit, but there's no voice-based way to set these up. If you want to link your HomeKit devices together to have them do certain things at set times of day, such as turning on all of the lights at night, you're going to need to set that up in the Home app or a third-party HomeKit app.
That said, Scenes are incredibly useful, and you can set up handy automations for waking up, going to bed, leaving home, arriving home, and more, and all of these can be controlled via HomePod by asking Siri to set the scene name. If you have a night time scene called "Good Night," for example, you can trigger it just by saying "Hey Siri, Good Night."


